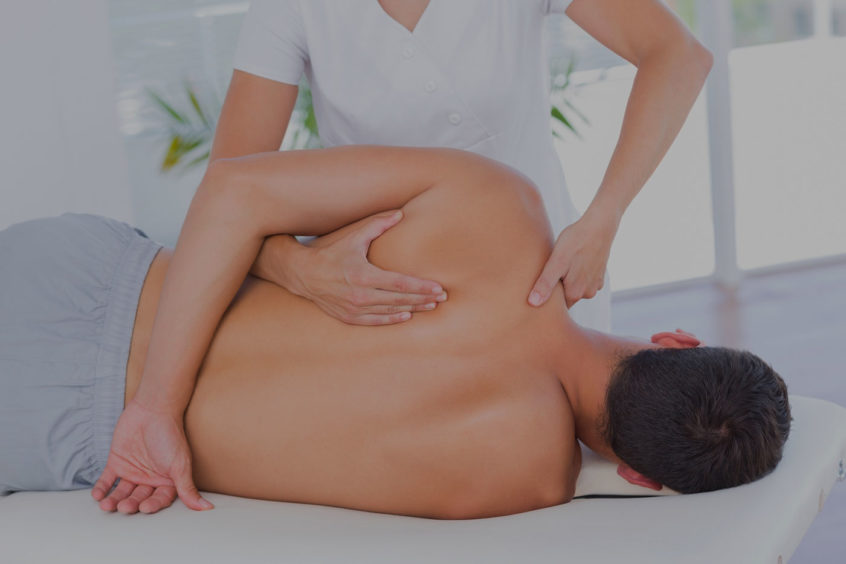
Try using these release techniques and exercises to help increase strength and mobility through your shoulders.
I’ve had my share of shoulder niggles as have many people I’ve trained and treated. I’ve come to see a pattern within the active community and that is it’s generally caused from an increase in resistance training.
These are some exercises and release techniques I’ve found help increase shoulder stability and strength while also working to decrease my shoulder pain.
I hope they can help you become shoulder pain free!!
Infraspinatus spikey ball release:
Whilst this can be mildly painful, I find this an awesome little spot to release to help free up shoulder mobility. Other spots can also be used, to see those, please see my total shoulder release post and accompanying video.
Please note this will be quite hard to explain but I’ll do my best!
1. Start by lying on your back with one arm out at 90 degrees. Place your spikey ball on the ground in the area of the armpit.
2. Roll onto or move the ball underneath your shoulder so that it is contacting the corner area between your back and armpit (the ball should be underneath you).
3. Slowly move the ball around until you feel a tight area and hold for 30s.
Scapular push up:
This exercise helps to normalise your shoulder motion therefore helping to increase mobility within the shoulder. It also aids in strengthening some smaller muscles of the shoulder which are quite often neglected.
1. Start on your hands and knees with your knees directly underneath your hips and hands directly underneath your shoulders.
2. Drop your chest down towards the ground by letting your shoulder blades come together however keeping your arms straight.
3. Once at the bottom of the movement push your shoulder blades as far away from each other as possible, slightly rounding your back if necessary.
4. Repeat this 10-12 times and do 2 x per day.
Standing single arm K/B press:
This is a great exercise to help stabilise the shoulder joint however it is considered advanced so if you have little gym experience or aren’t confident with the movement, I’d suggest trying the exercise below.
1. Standing feet shoulder width apart (or split stance), pick the kettlebell up so that it’s upside-down (heavy end up, will test your balance skills)
2. Bring the kettlebell up to your eye level, palm facing your midline with your elbow pointing forward.
3. Start the movement by pressing the kettlebell above your head, keep your elbow facing straight and palm facing your mid-line throughout the whole of the movement.
4. Move slow and controlled counting to 2 or 3 or both up and down motions.
5. Repeat 10-12 time and do 2-3 sets.
Seated single arm D/B press:
This is a more beginner friendly version of the above exercise that also allows you to use a little bit more weight, with a little bit less emphasis on balance. This therefore focuses more on strength than stabilisation but will definitely help to improve both.
1. Take a seat on a bench or box, sitting up nice and tall with your feet shoulder width apart.
2. Bring the dumbbell up to your ear level, palm facing your midline with your elbow pointing forward.
3. Try and keep your elbow point forward and move the dumbbell from beside your ear to over your head to the finishing position of your bicep meeting your ear.
4. Repeat 10-12 times and do 3-4 sets.
I hope the information above helps with injury prevention/rehabilitation whilst helping you optimise your performance.
Thanks for reading/watching and if you have any further questions regarding this post or any other questions in general please email me at Jamey.beyondfitness@gmail.com
By Jamey Pemmelaar (Osteopath)

